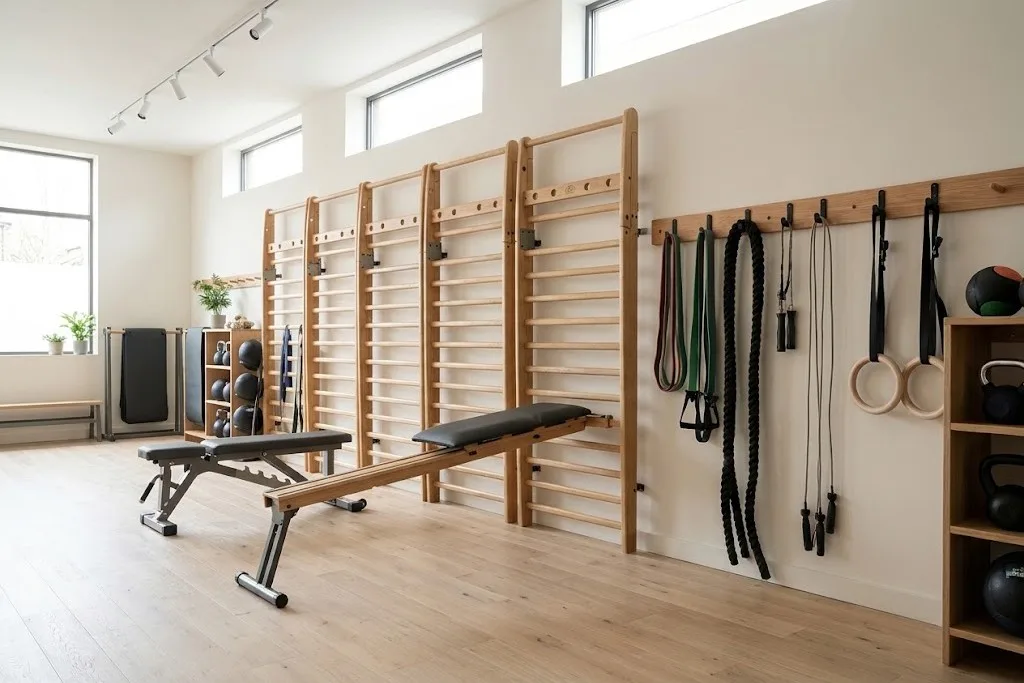
In a strength and functional room, the walls do a lot of work. They hold wall bars, storage, mirrors and sometimes spring or suspension systems. They also hold doors, windows, radiators, sockets and ventilation grilles that cannot move. A good wall layout keeps the centre of the room open and puts everything fixed where it is useful and safe.
This article sets out a step-by-step approach to planning the walls of a functional room.
Step 1: survey what is already there
Before placing any equipment, draw each wall to scale and mark every fixed feature:
- Doors and their swing.
- Windows and sills.
- Radiators, pipes and heating controls.
- Sockets, switches and data points.
- Ventilation grilles and air conditioning units.
- Fire alarms, extinguishers and signage.
- Columns and changes in wall depth.
Many layouts fail because a wall bar is placed over a socket or a mirror ends up behind a door.
Step 2: find out what each wall is made of
Not every wall can take every load. Wall bars, barres, spring walls and suspension anchors pull outwards and downwards, often suddenly.
- Solid concrete or masonry is the best base for heavy wall-fixed equipment.
- Hollow block needs suitable anchors and may need checking.
- Stud partitions usually need added structure, such as a plywood backing fixed into the studs or a separate frame.
In the UK, BS 8539 is the code of practice for selecting, installing and testing anchors in concrete and masonry. Its approach is that the specifier assesses the anchor’s suitability and specifies it clearly, and the installer uses the specified anchor and has it inspected before load is applied. If you are unsure what a wall is made of, find out before choosing equipment for it.
Step 3: group equipment by use
Put things where they are used:
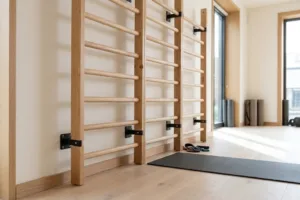
- Wall bars on a structural wall with clear floor space in front, away from doors and walkways. Users swing, lean out and step back.
- Storage near the entrance to the training area, so clients collect and return equipment without crossing the room.
- Mirrors opposite the main exercise area, so clients can see themselves while they work, and not directly behind areas where weights or boxes are used.
- Hooks and rails for bands, straps and ropes near the stations that use them.
Step 4: keep the floor in front clear
Every wall-fixed item needs a clear zone in front of it. The UK Health and Safety Executive notes that most trips are caused by obstructions in walkways, and that walkways should be wide enough and kept clear. Mark the clear zone on the plan:
- In front of wall bars, enough for a user to step back and lower down safely.
- In front of storage, enough for several people to reach at once.
- Along the route from the door, wide enough to pass a class in progress.
Step 5: fit equipment to the wall length
Walls rarely match standard equipment widths. Modular systems help.
- Modular wall bars can be combined in bays to fill a wall or to fit between windows.
- Storage can be built to the exact length between two fixed features.
- Rail systems can run the full length of a wall and take hooks, shelves and holders as needs change.
The Round Fit range includes single, double, pull-up and modular wall bars, wall storage and rail storage systems, all made to brief.
Step 6: think about heights
- Heavy items stored between knee and chest height. The HSE’s manual handling risk filters note that acceptable weights reduce when items are handled at high or low levels or with arms extended.
- Mirrors low enough to show the whole body, with the bottom edge clear of the floor so they are not kicked.
- Hooks at a height clients can reach easily, with nothing projecting at head height near training areas.
Step 7: check sightlines and light
- Can the coach see every station from the teaching position?
- Do tall storage units block views or daylight?
- Do mirrors create glare from windows or lights?
Step 8: test the plan
Walk through a class on paper:
- Clients arrive and collect equipment.
- They work at stations around the room.
- Some use the wall bars.
- Everyone returns equipment and leaves.
If any step involves crossing someone else’s space or squeezing past a fixed item, adjust the layout.
Matching the room
Wall-fixed equipment and storage in the same timber and finish make the room look designed as a whole. Mixed materials can work, but each zone should have one lead material.
To try a wall bar layout, use our wall bars configurator. If you have wall photos or elevations, send them and we will suggest a layout.