Most equipment problems in studios do not appear overnight. A loose bolt, a frayed strap or a crack in a cover usually develops over weeks. A short weekly inspection catches these early, when they are cheap and quick to fix, and before they put a client at risk.
This article sets out a practical weekly routine for Pilates, yoga, barre and strength studios, and explains how it fits with the inspection duties of a business that provides equipment for others to use.
Why inspect at all
In the UK, the Provision and Use of Work Equipment Regulations 1998 (PUWER) apply to equipment provided for use at work. The Health and Safety Executive’s guidance on inspecting work equipment explains that where equipment is exposed to conditions that cause deterioration liable to result in dangerous situations, it should be inspected at suitable intervals by a competent person. It describes a risk-based approach, in which checks can range from quick pre-use checks to weekly and less frequent, more detailed inspections. Records should be kept at least until the next inspection.
A weekly routine is not a substitute for a detailed periodic inspection, but it is the layer that catches most day-to-day wear.
Before you start
- Set aside time. Twenty to forty minutes is enough for a small studio. Block it in the timetable, outside class times.
- Use the same checklist each week. A printed or digital list keeps checks consistent between staff.
- Have a way to take equipment out of use. A tag or sign that says “Do not use” is essential. If something fails the check, it should stay out of use until it is repaired.
- Record what you find. Note the date, who checked, what was found and what was done.
The weekly checklist
Frames and joints
- Look for cracks, splits or open joints in timber frames, especially at corners and under load points.
- Check that bolts, screws and fixings are tight. Note any that keep working loose.
- Look for damage to the finish that exposes bare wood, particularly at feet and end grain, where water enters most easily.
- Check metal parts for rust, bends or sharp edges.
Moving parts
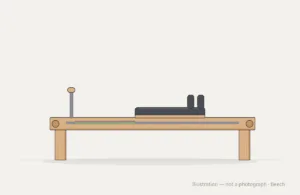
- On reformers, push the carriage through its full travel. It should move smoothly and quietly, without grinding, sticking or knocking.
- Check that the carriage stops, footbar and headrest lock firmly in every position.
- Look at wheels and rails for dirt, flat spots or damage.
- On adjustable benches and platforms, check every adjustment position and locking pin.
Springs, straps and ropes
- Check each spring along its full length for uneven coil gaps, rust, kinks and wear at the hooks.
- Run straps and ropes through your hands, looking for fraying, broken stitching and worn clips.
- Check pulleys turn freely and are not cutting into ropes.
Upholstery
- Look for splits, cracks, peeling or loose stitching.
- Press the padding. It should recover its shape.
- Check for damp or staining that suggests liquid has reached the board below.
Wall-mounted equipment
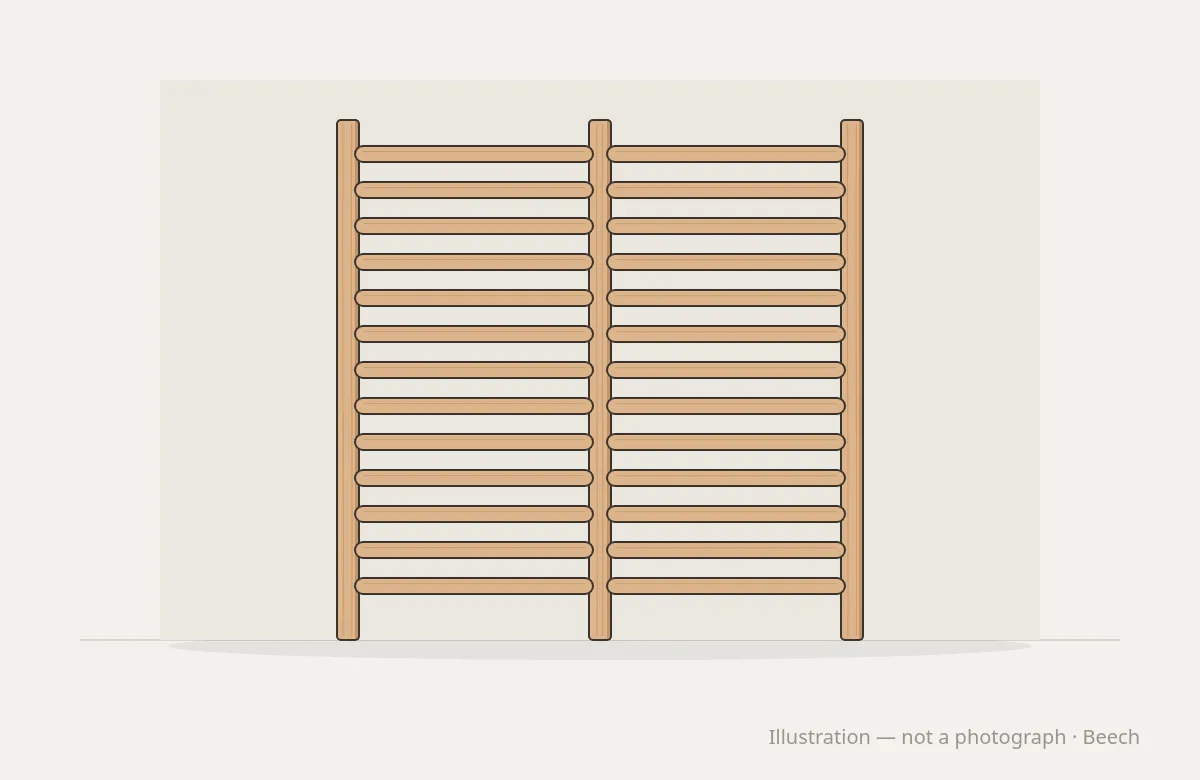
- Check wall bars, spring walls, mirrors, rails and shelving for movement. Nothing fixed to a wall should move when pushed or pulled.
- Look for cracks in the wall around fixings.
BS 8539 gives guidance on the selection and installation of anchors in concrete and masonry, and stresses that fixings must suit the wall they go into. If anything wall-mounted has moved, take it out of use and ask a competent person to inspect the fixing before it is used again.
Floors and surroundings
- Check the floor around each machine for trip hazards, damaged mats and loose cables.
- The HSE notes that most trips are caused by obstructions in walkways. Make sure props and accessories have been returned to storage and clear routes are kept clear.
- Check for wet patches or contamination that could cause a slip.
Accessories
- Check balls, rings, blocks and bands for splits, tears and loss of grip.
- Throw away resistance bands that show nicks, thinning or stickiness.
What to do with what you find
Divide findings into three groups:
- Fix now. Tightening a fixing, cleaning a rail or replacing a worn strap from spares.
- Take out of use. Anything that could fail under load, such as a cracked frame, a damaged spring or a moving wall fixing.
- Monitor. Minor wear that is not yet a risk. Note it, and check it again next week.
Look at the log every few months. Repeated problems on the same machine, or the same part failing across several machines, point to a cause worth tackling, such as setup, cleaning products or class layout.
How this fits with standards
EN ISO 20957-1 sets general safety requirements for stationary training equipment in commercial and similar use. Your supplier’s instructions for use and maintenance should be the starting point for your checklist. Keep them with the equipment, and add any specific checks they recommend.
Building equipment that is easy to inspect
Round Fit builds in solid hardwood and plywood only, never chipboard or MDF, with a matt lacquer finish that makes damage easy to see. Every piece is tested before it leaves the workshop. Wall-mounted pieces are installed through our local distribution partners, who assess the wall before fixing.
Read more about how we work, or discuss your project with us.