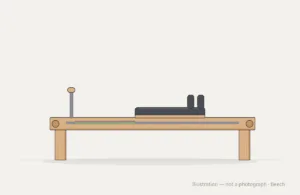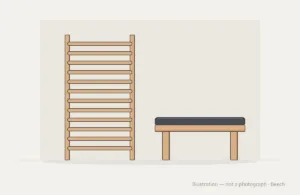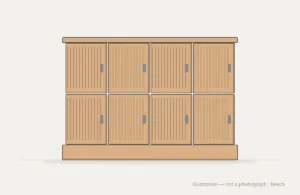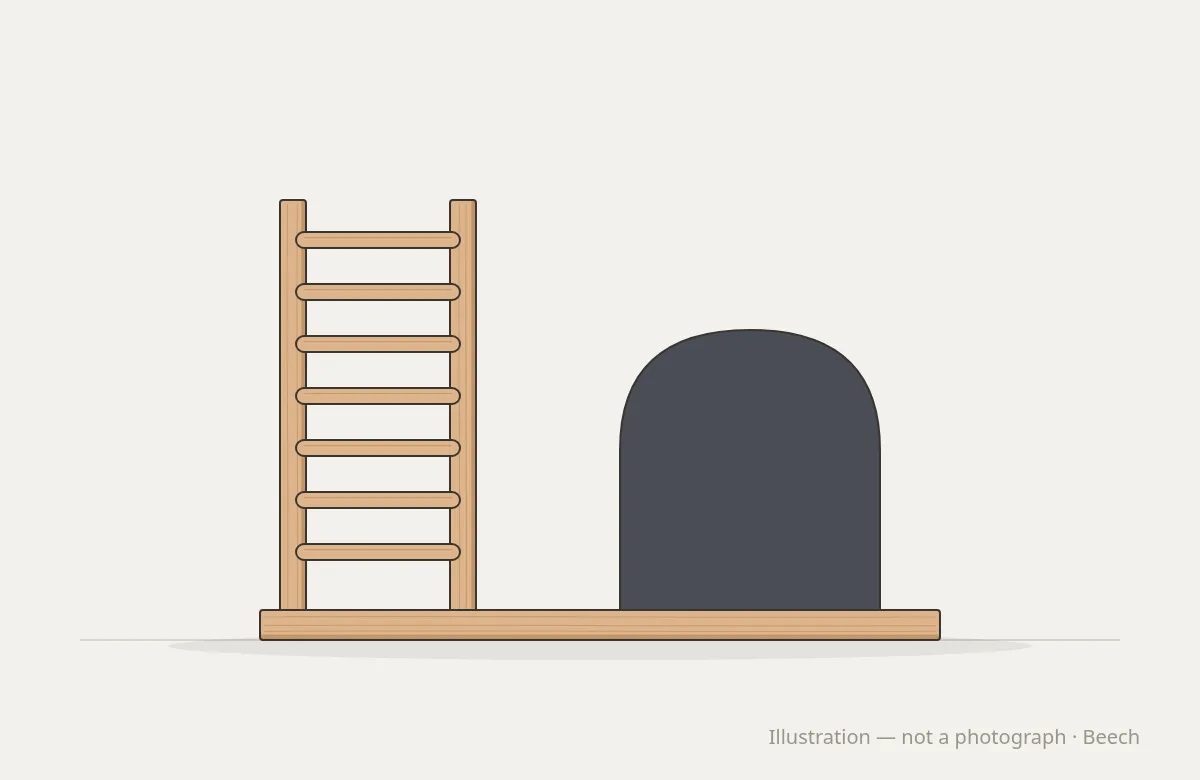
Drawings show dimensions. Colour swatches show colours. Neither shows exactly how a finished piece will look in a studio, feel under a client’s hands or sit next to the rest of the room. For a single studio, that gap is usually small. For a chain ordering dozens of machines and interiors for several sites, it matters a great deal.
That is why many operators ask to see and use one finished sample before committing to a batch. Changing one piece is easy. Changing a full production run is not. This article explains what to check on a sample, how to judge colour fairly and how to turn the approved sample into a reference for the whole batch.
What a sample is for
A sample, or first-off piece, is a finished item built to the proposed specification. It lets the team:
- See the timber, finish and upholstery together, at full size.
- Check proportions, details and branding in three dimensions.
- Test the feel of handles, straps, adjustments and contact surfaces.
- Let instructors use it in real sessions.
- Agree changes before production, when they are cheap.
Check colour under the right light
Colour is the most common reason for a sample to be revised, and the hardest to judge fairly.
Light changes colour. Two materials can match under one light and look different under another. This is called metamerism. Datacolor, a colour measurement company, explains that it happens when two samples have different spectral reflectance curves, and that colour approval should not rely on one lighting condition alone. Timber, lacquer and upholstery are very different materials, so a stain and a fabric that match under daylight may not match under warm studio lighting.
Check under several conditions. Look at the sample under daylight from a window, under the studio’s own lighting and, if possible, under a standard light source. In the printing industry, ISO 3664 defines standard viewing conditions so that colour can be judged consistently. The same idea applies here: agree the light under which the sample will be judged, and use it again when checking the batch.
Use references. Colour references such as RAL Classic codes or Natural Colour System codes give everyone the same target. Approve the colour on the actual timber, because the same stain looks different on beech, ash and oak.
Check sheen and feel
Two finishes in the same colour can look different if their sheen differs. Sheen can be measured with a gloss meter, as described in ISO 2813. Very matt surfaces, below about 10 gloss units, are usually measured at 85°. Recording the approved sheen makes it easier to match later batches.
Run your hands over every surface clients will touch: rails, handles, edges, upholstery. Check that edges are rounded where they should be, that there are no rough patches and that the finish feels natural rather than plastic or slippery.
Check the details
- Logo. Size, position, method and how it looks from a client’s normal viewing distance.
- Upholstery. Colour, texture, seams and how the cover is fitted at corners. If the specification includes a performance level, such as a Martindale abrasion result under BS EN ISO 12947, check that the fabric used is the specified one.
- Hardware. Handles, straps, adjustment mechanisms and fixings, and whether they work smoothly.
- Proportions. How the piece sits in the room and next to existing fittings.
Use it in real sessions
A sample is most useful when instructors actually use it. Put it in a studio for a few sessions and ask instructors and, where appropriate, clients for feedback:
- Does it feel stable and comfortable?
- Are the adjustments easy and quick between clients?
- Is anything awkward, too low, too high or in the way?
- Does it clean easily at the end of the day?
Practical feedback from a few sessions often finds things that no drawing would show.
Record every decision
Write down every decision made on the sample: what was approved, what was changed and why. Then:
- Photograph the approved sample under neutral light, from several angles, including close-ups of finish, upholstery and branding.
- Attach the photographs and notes to the specification, with a version number and date.
- Keep physical samples of timber, finish and upholstery at head office.
The approved sample then becomes the reference for the whole batch. Every piece in production should match it.
Allow time in the programme
A sample takes time to make, review and approve. Build that time into the programme, before the order confirmation date for the batch. A sample that arrives a week before production is due to start leaves no time to act on what it shows.
Pilates equipment at Round Fit is typically produced in four to six weeks, and other collections in six to eight. A sample for a new specification adds time before that, and it is time well spent.
Ageing and later batches
Timber colour changes with light. The Wood Handbook from the US Forest Products Laboratory notes that indoors, visible light causes most colour change in wood. A sample that has been in a sunny studio for several months will look different from a freshly made piece. Keep a reference sample out of the light, at head office, for comparing later batches.
Read more about our process. If your chain would like a sample before a batch order, let us know.