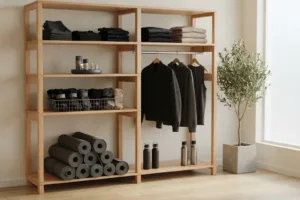
Studio timetables change. A room that runs mat Pilates and barre this year may add a strength class, a stretching session or a new format next year. Each change brings new equipment: resistance bands, small balls, weights, rings, towels. Fixed storage that fitted perfectly at opening soon stops fitting.
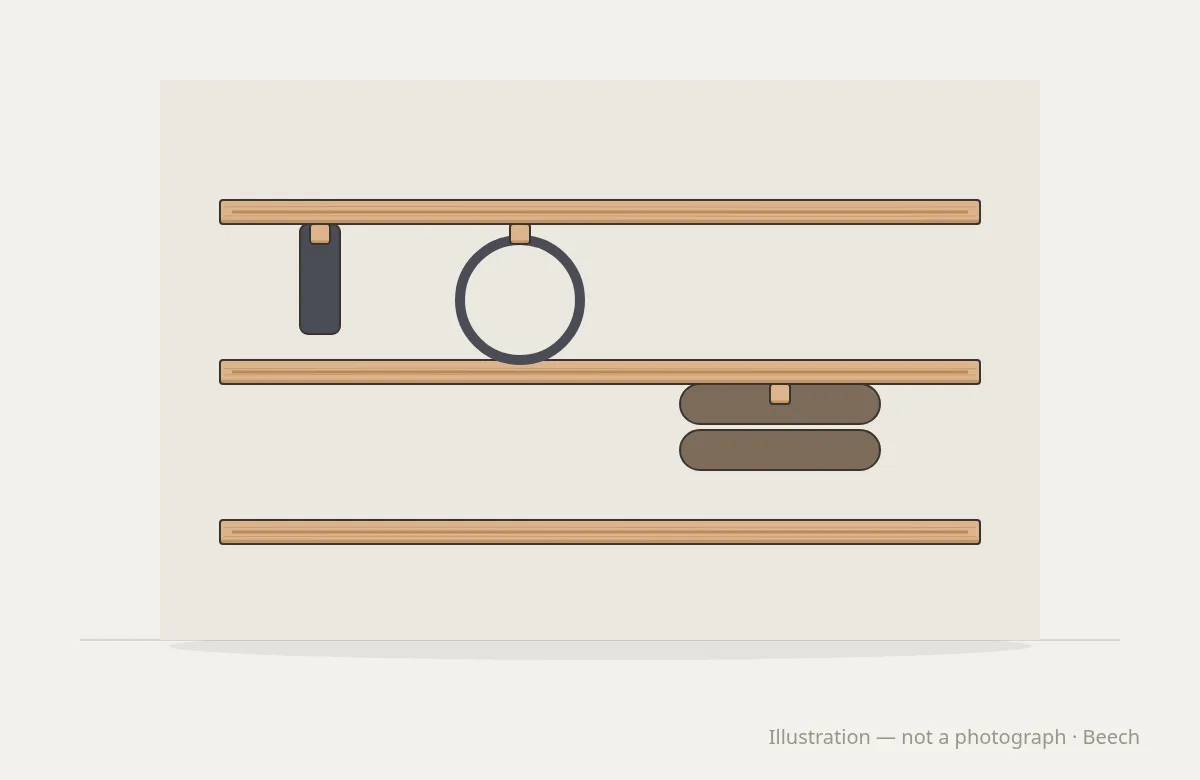
A rail storage system is designed for that change. Horizontal rails are fixed to the wall once. Hooks, shelves, baskets and holders hang from them and can be moved, added or swapped as the class mix changes, without drilling new holes. The wall stays the same; the storage adapts.
How a rail system works
The principle is simple.
- Rails are fixed securely to the wall at planned heights, usually in horizontal runs.
- Modules hook onto the rails: shelves for blocks and balls, hooks for bands and straps, holders for rollers, baskets for small items, pegs for towels.
- Modules move along the rail or between rails without tools, so the layout can change in minutes.
As a reference, Round Fit’s Studio Space Rail Storage System uses rails of 120 cm, in any number, with interchangeable holders. The modules are made in the same timber as the rails, so the wall looks like one piece of joinery.
The wall comes first
A rail system is only as strong as its fixings. The wall carries everything that hangs on the rails, plus the force of clients pulling items off and hanging them back.
Know what the wall is made of. Concrete, solid masonry, hollow block and plasterboard partitions all need different fixings. BS 8539, the British Standard for selecting, installing and testing anchors in concrete and masonry, sets out a sound approach. The anchor should be chosen for the actual base material and load, specified clearly and installed by a competent person, with testing on site where required.
Plan extra support on partitions. Stud walls usually need timber or metal backing behind the rail positions before the wall is finished.
Fix rails into solid timber. The Wood Handbook from the US Forest Products Laboratory explains that the holding power of a screw depends strongly on the density of the wood it is driven into, and that screws in end grain hold noticeably less than those in side grain. Rails made from dense hardwood, fixed through their side grain, give a strong, lasting connection.
Before ordering, ask your contractor or local installation partner to assess the wall.
Heavy low, light high
Plan what goes where before the rails are fixed.
- Heavier items low. Weights, kettlebells and medicine balls are better on the lowest rail or on a floor rack. If one falls, it falls a short distance.
- Frequently used items at mid-height. Bands, straps, blocks and towels between about knee and shoulder height are easy to reach without bending or stretching.
- Light, occasional items high. Spare props and seasonal equipment can go on the top rail.
The Health and Safety Executive’s manual handling risk filters show that the weight a person can handle comfortably drops at very low or very high levels and with arms extended. Even light items are lifted many times a day, so good placement saves strain and time.
Leave room in front
A wall of storage needs floor space in front of it. Several clients will collect equipment at the start of class and return it at the end.
- Leave a clear zone in front of the rails, wide enough for two or three people at once.
- Keep that zone out of the teaching area and the main walkway. The Health and Safety Executive notes that most trips at work are caused by obstructions in walkways.
- Avoid placing rails where an open door or a moving piece of equipment could hit someone reaching for an item.
When floor storage is better
A rail system is not the answer for everything.
- Very heavy equipment, such as dumbbells and large kettlebells, is usually better on a purpose-built floor rack.
- Mats and rollers in large numbers may suit a dedicated mat and roller rack.
- Walls with mirrors, glazing or acoustic panels may not be suitable for rails.
Many studios combine both. Floor racks take the heavy and bulky items; the rail system takes everything else and keeps it flexible.
Materials and finish
Rails and modules are handled constantly. They should be:
- Solid hardwood for rails and load-bearing parts, with plywood for shelves and baskets where it suits.
- Smooth, with rounded edges, so hands and equipment do not catch.
- Finished in a matt lacquer that resists sweat and cleaning products, and is easy to wipe.
Round Fit builds in solid hardwood and plywood only, never chipboard or MDF, and every piece is tested before it leaves the workshop.
Planning a rail wall
- List the equipment you store today, and what you might add.
- Confirm the wall construction and fixing method.
- Decide rail heights, with heavy items low and frequent items at mid-height.
- Choose an initial set of modules, and add more as the timetable changes.
- Leave clear floor space in front of the wall.
Pair the rails with a mat and roller rack for bulky items. Tell us your class mix and discuss your project with us, and we will suggest modules for your wall.