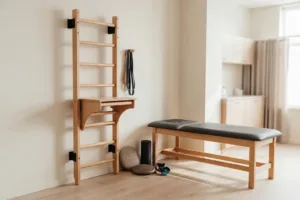
A rehab treatment room is easiest to plan from the room, not from an equipment list. It is tempting to start with a wish list: a Cadillac, a reformer, wall bars, a barrel. But the room decides what will fit, how patients will move through it and where the therapist can work. Start with measurements, then place the equipment.
This article sets out a practical sequence for planning a treatment room with Pilates and rehab equipment. A qualified physiotherapist should set the exercise programmes, and should be involved while the plan is still on paper.
Step 1: Record the room
Measure and note:
- Room dimensions, wall by wall.
- Ceiling height, and any obstructions such as beams, light fittings, ducts or sprinkler heads.
- Doors: positions, widths and which way they open.
- Windows: positions, sill heights and any glare at different times of day.
- Radiators, sockets and switches, which limit where equipment can go.
- Walls that can and cannot take fixings. Masonry, concrete, hollow block and stud partitions need different treatment.
- The route to the room, including corridors, lifts and doors on the way.
A simple sketch with these measurements is often enough to start.
Step 2: Divide the room into zones
Most treatment rooms work best with three zones:
- An equipment zone for the larger apparatus: a Cadillac, reformer or tower reformer, and wall bars.
- A mat or plinth zone for floor work, small apparatus and assessment.
- A storage zone for props, small apparatus, cleaning supplies and patients’ belongings.
Between them, keep clear walkways. The Health and Safety Executive notes that most trips at work are caused by obstructions in walkways, and patients in a rehab room are often less steady on their feet than most.
Step 3: Place the largest pieces first
Place equipment in order of size and constraint.
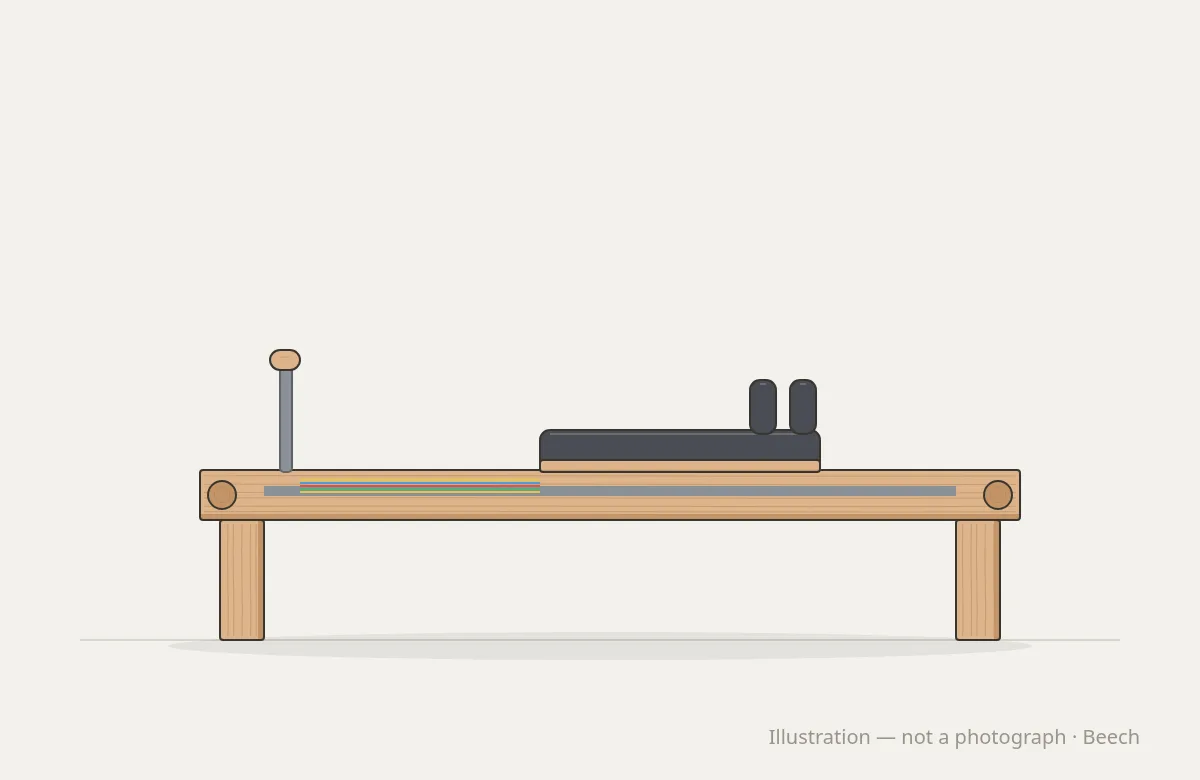
1. The Cadillac or reformer. These are the largest pieces and the hardest to move. As a reference, the Round Fit Studio Pro Cadillac is 220 cm long, 74 cm wide and 215 cm high, and the Studio Pro Reformer is 235 cm long and 68.5 cm wide. Allow at least a metre of clear space around large apparatus, so the therapist can work from the sides and ends and patients can transfer.
2. Wall bars and barres. These need a wall that can take the load and clear floor space in front of them. Wall bars are covered by BS EN 12346, and fixings into concrete and masonry by BS 8539, the British Standard for selecting, installing and testing anchors.
3. Smaller apparatus and storage. Arcs, barrels, wedges and props fit around the larger pieces, with storage close to where they are used.
Step 4: Check access
For each piece, check that patients can reach it and transfer safely.
- Beside equipment. Guidance from the US Department of Justice on accessible examination rooms recommends a clear floor space of at least 30 by 48 inches, about 760 by 1,220 mm, beside an examination table. Apply the same principle to Pilates apparatus.
- Turning space. The same guidance recommends enough room for a wheelchair to make a 180-degree turn, such as a 60-inch, about 1,525 mm, circle.
- Doors. sportscotland’s inclusive access checklist recommends a minimum effective clear door opening of 1,000 mm where sports wheelchairs may be used.
BS 8300-2 sets out design guidance for accessible buildings in the UK. Your architect or designer should check the layout against it.
Step 5: Plan storage and hygiene
Storage keeps the room safe and quick to reset.
- Off the floor. NHS England’s Health Building Note 00-09 on infection control recommends that stored items are kept off the floor, which also makes the floor quicker to clean.
- Open where possible, so items dry after cleaning and missing items are noticed.
- At a sensible height, between knee and shoulder, to avoid repeated bending and reaching.
- Close to where items are used, so the therapist does not leave the patient to fetch them.
Surfaces should be smooth, sealed and easy to clean. HBN 00-09 recommends smooth, cleanable, impervious surfaces in clinical areas, free of fissures and unsealed joints.
Step 6: Think about the patient’s experience
- What the patient sees. A patient lying on a reformer or Cadillac looks at the ceiling; sitting or kneeling, they look at the wall in front of them. Avoid glare from windows and views into busy corridors.
- Privacy. Glazed doors and ground-floor windows may need blinds or screens.
- Temperature and air. Patients lying still feel cold more quickly than those moving.
- Light. Even, glare-free light helps the therapist observe movement.
Step 7: Plan inspection
Equipment in a clinic should be part of an inspection routine. The Health and Safety Executive’s guidance on inspecting work equipment says that where safety depends on installation, equipment should be inspected after installation and before first use, and at suitable intervals where it is exposed to conditions that could cause deterioration. Results should be recorded.
Bringing it together
A well-planned treatment room feels calm and spacious, even when it is small. Patients move easily, therapists can work from the right position and the room resets quickly between appointments.
Round Fit makes Pilates equipment, wall bars, barres and storage for clinics in solid hardwood with a matt lacquer for daily cleaning. Installation is arranged through local distribution partners, who assess the wall before wall-mounted pieces are fixed. Read more about how we work. Send us a sketch of your room and we will help you plan it.