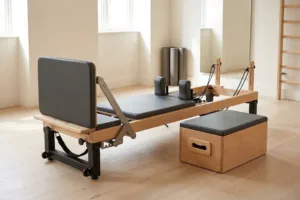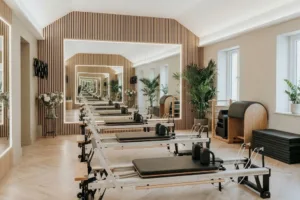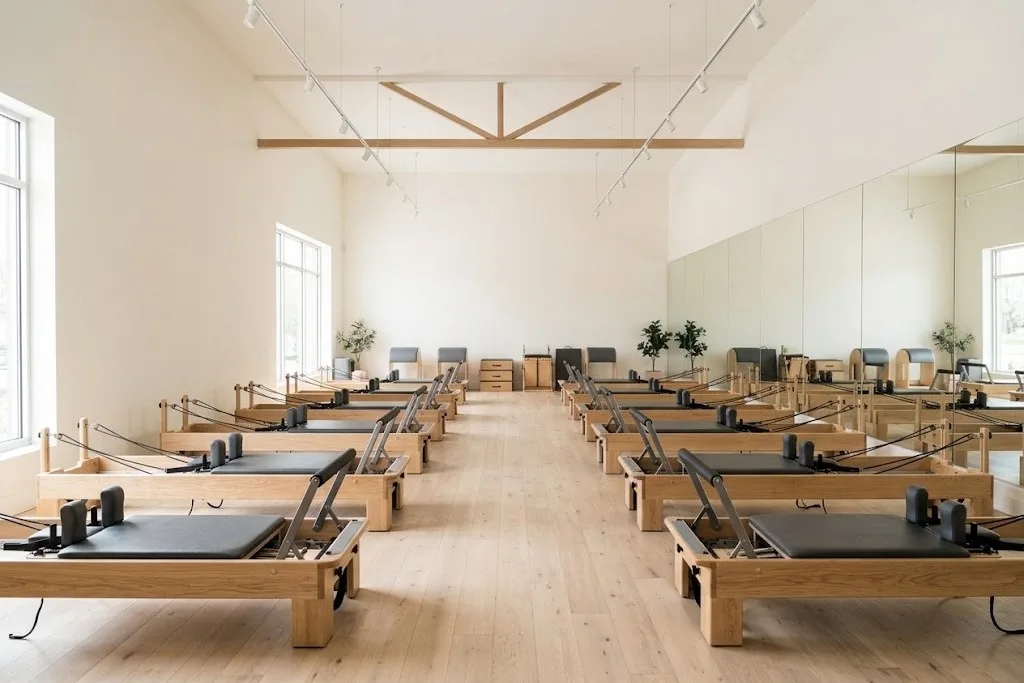
A good reformer room feels calm. Clients find their machine without squeezing past others. The instructor can see every carriage. Accessories are close at hand but off the floor. A poor room has the same number of machines but feels cramped, slow to reset and harder to teach in.
The difference is rarely the floor area. It is the layout. This article sets out how to plan a reformer room, with the dimensions to check and the decisions that matter most.
Start with the machine footprint
Every plan starts with the size of the reformer itself. As an example, the Round Fit Studio Pro Reformer measures 235 cm long, 68.5 cm wide and 40 cm high. Other models differ, and a bespoke reformer can be sized to suit the room, so always plan with the real dimensions of the machine you will use.
Then add the space a machine needs in use. That is more than its footprint:
- At the foot end, clients step on and off, and the instructor stands to adjust springs and the footbar.
- At the head end, ropes and straps run back from the carriage, and some exercises reach overhead.
- Along the sides, clients mount and dismount, and the instructor moves to correct position.
Spacing between machines
There is no single legal standard for reformer spacing. Published guidance varies. Studio design guides commonly suggest allowing roughly 40 to 50 square feet (about 3.7 to 4.6 m²) per reformer, including instructor clearance. One widely used guide suggests a minimum of 6 feet (about 1.8 m) behind each reformer and 2 feet (about 0.6 m) on either side. Elsewhere the same source gives a different figure of 3 to 4 feet (about 0.9 to 1.2 m) between reformers. Those figures do not fully agree, which shows why you should check against your own equipment and teaching style.
A practical rule many studios use is at least one metre between machines. That gives room to step between them and lets the instructor work from either side. Where space is tight, more room at the head and foot is usually more useful than more room at the sides.
Rows, staggering and orientation
Most reformer rooms use parallel rows. A few points help:
- Face the instructor. All machines should face, or be visible from, the teaching position.
- Stagger rows if the room is deep. Clients in the back row can then see the instructor between machines in front.
- Keep the same orientation in each row, so cues such as “face the footbar” mean the same for everyone.
- Align machines precisely. Neat lines make the room feel ordered and help the instructor spot position errors.
Instructor sightlines
The instructor needs to see every carriage, every spring setting and every client’s alignment. Check:
- Can the instructor see the springs on every machine from the teaching position?
- Do columns, storage units or mirrors block any view?
- Is there a clear route for the instructor to walk around the room during class?
Mirrors can help clients check their form, but they should not replace a direct view.
Circulation and the route to the door
Clients arrive, collect accessories, find their machine, and leave. Each of those journeys should be easy.
A common recommendation is to keep at least 36 inches (about 0.9 m) of clear path, with nothing encroaching on walkways. The UK Health and Safety Executive notes that most trips are caused by obstructions in walkways, and that walkways must be kept clear. In a reformer room, the usual obstructions are sitting boxes, jump boards and water bottles.
Plan the route from the door so clients never have to step across another machine. A clear aisle along one wall or down the centre works well.
Ceiling height
Ceiling height matters if you plan towers, Cadillac frames or vertical storage. Studio design guidance commonly suggests at least 9 feet (about 2.7 m) of ceiling height generally, and at least 8 feet (about 2.4 m) if reformers are stored vertically. Check the exact frame height of any apparatus and allow for overhead work and light fittings.
Storage off the floor
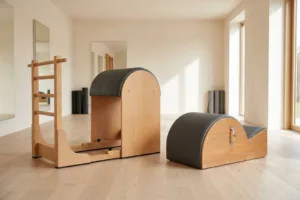
Every reformer comes with accessories. Sitting boxes, jump boards, platform extenders, straps and small props all need a home. If they live on the floor, the room becomes cluttered and unsafe.
Plan storage at the same time as the machines:
- Wall racks for jump boards and platforms, near the machines that use them.
- Low shelves or cubbies for sitting boxes.
- Hooks or rails for straps and small props.
- A clear place for clients’ belongings, outside the teaching area.
Storage in the same timber and finish as the reformers makes the room feel designed as a whole.
Flooring, light and sound
- Flooring should be level and firm, so machines sit flat. Rubber or cork is often recommended for cushioning and noise absorption, with flush transitions to avoid trip hazards. Timber floors suit equipment rooms well.
- Lighting should be even and free of glare for clients lying on their backs. Dimmable lighting gives flexibility between morning and evening classes.
- Acoustics matter more than people expect. Carriages, springs and instructors’ voices all add up. Acoustic panels and soft surfaces help.
Test the layout before you buy
Draw the room to scale, with each machine at its real size and its working space around it. Then walk through a class on paper:
- A client arrives, collects accessories and reaches the furthest machine.
- The instructor walks around the room during class.
- Clients leave and accessories go back.
- The room is reset for the next class.
If any step involves squeezing, crossing a machine or moving furniture, change the layout.
You can try sizes and options in our Reformer configurator. See our studio solutions, or send us your floor plan and we will help you plan the room.